部署Samba
小于 1 分钟
1、安装过程省略
2、配置
2.1 配置文件
配置目录在 /etc/samba,修改smb.conf在最后加一组[test],同时修改[global]在里面加上ntlm auth = yes,最终加完如下
# See smb.conf.example for a more detailed config file or
# read the smb.conf manpage.
# Run 'testparm' to verify the config is correct after
# you modified it.

[global]
        ntlm auth = yes  ###这个很重要
        workgroup = SAMBA
        security = user

        passdb backend = tdbsam

        printing = cups
        printcap name = cups
        load printers = yes
        cups options = raw

[homes]
        comment = Home Directories
        valid users = %S, %D%w%S
        browseable = No
        read only = No
        inherit acls = Yes

[printers]
        comment = All Printers
        path = /var/tmp
        printable = Yes
        create mask = 0600
        browseable = No

[test]
        valid users = root,test
        comment = my share directory
        path = /  # 实际的共享路径,这里直接共享所有,根据自己需求修改
        writable = yes
        browseable = yes
        guest ok = yes
2.2 创建samba用户
useadd test  #添加系统用户
smbpaswd -a test  #给新加的系统用户设置samba密码,这个密码和系统密码不是一回事
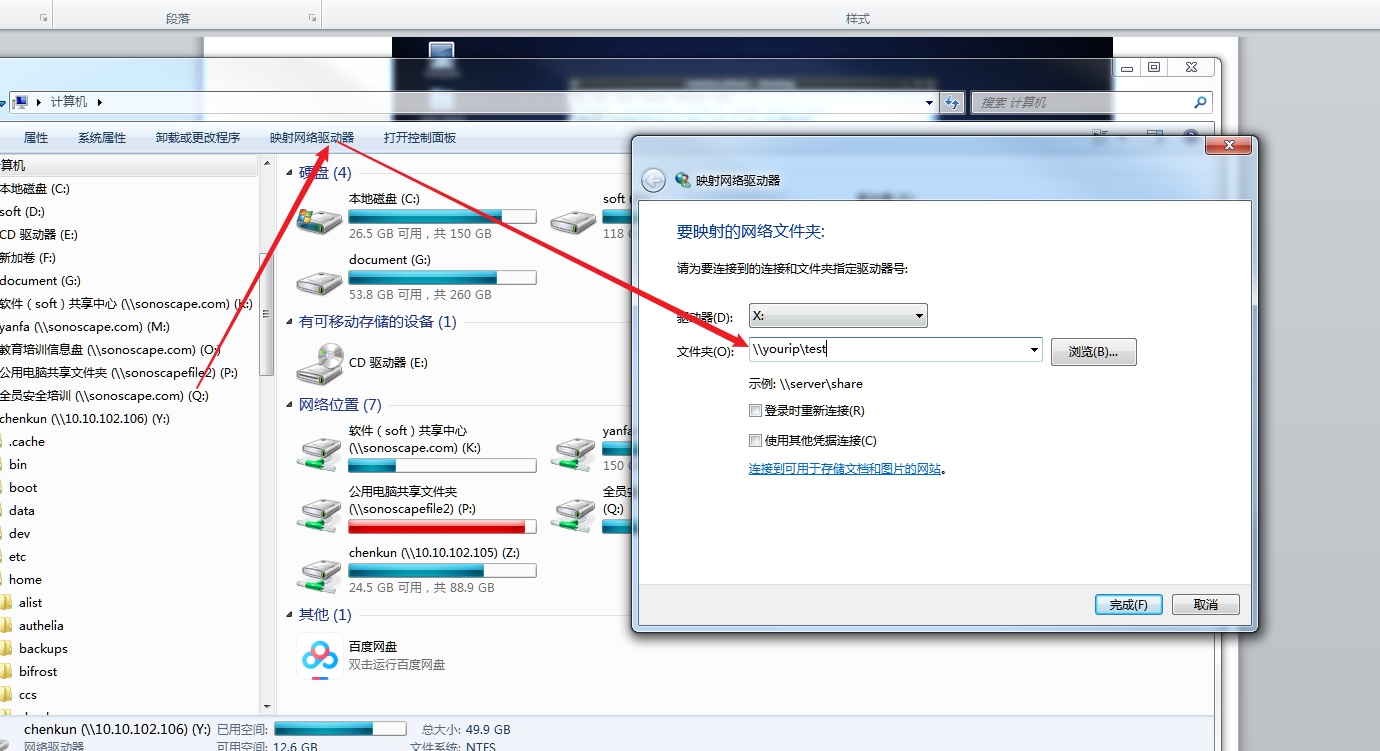
2.3 windows连接samba
windows开启samba过程省略……
连接时的路径格式为\\IP\test,IP是你的samba地址,test是在smb.conf配置的那个 [test]